Halloween Screen Print Project

Halloween Screen Print Project

Way back in February I decided that I wanted to give screen printing a try– er, wait, rewind a bit further–last October I created a fun little header graphic on the Happi Devil FaceSpace page for the simple reason that I love Halloween. When I posted it, I received a ton of positive feedback, which inspired me to look into doing something more with it.

Happi Halloween
Happi Devil Halloween Image from the FaceSpace

Okay, now back to February, I had the epiphany to try to recreate the image using screen prints. Sure it would be easy to just run off a bunch of digital prints, but if I hand screened the prints, each one would be a little special.

So, now with October quickly approaching [how is it August already?!] I figure I should probably get crackin’ on this project if I wanted to get it ready before October. I separated out the colors and figured I could get this done using three screens. I had some transparencies printed at Eco Vantage Reprographics in Signal Hill [after running around to Kinkos, Office Depot, and Staples, each of whom do not stock large transparencies], then prepared the silkscreen frames with Speedball Photo Emulsion.

Once the emulsion was dry, it was time to place the transparencies flat in the frame, held flat with a piece of clean plexiglass, and then expose the frame.

Once the image was burned into the emulsion [150 watt bulb, 12 inches away, for 45 minutes], the frame is then rinsed off. Well, less of a gentle rinse, more of a high pressure wash. The lighter green unexposed emulsion does not just rinse clear under a tap, it took a bit of working with high pressure wash [ie: garden hose with a jet nozzle]. But once the unexposed emulsion was rinsed out, the frames just needed to dry to be used.

Two of the three frames for the Halloween Print

Then it was time to give it a go!

The first pass of each frame/color came out just as I had wanted. The results were a little mixed with the next three prints, mostly because once a single pass was done, it was difficult to match up the frame with the image below. And then there was the issue of the paint sticking in the screen after each pass, causing some of the details to fade and not print on the subsequent pages.

 Comparing first pass with the fourth pass. The larger stars are lighter, and the smaller ones do not even show up.
Comparing first pass with the fourth pass. The larger stars are lighter, and the smaller ones do not even show up, while the web in the fence becomes faded.

So there are a few things that I need to work out still:

  • Should I be using different paint rather than just plain old acrylic?
  • Should I just resolve to rinse out each frame after every pass of paint so that it does not gum up the screen, or would using an alternate paint solve that issue?

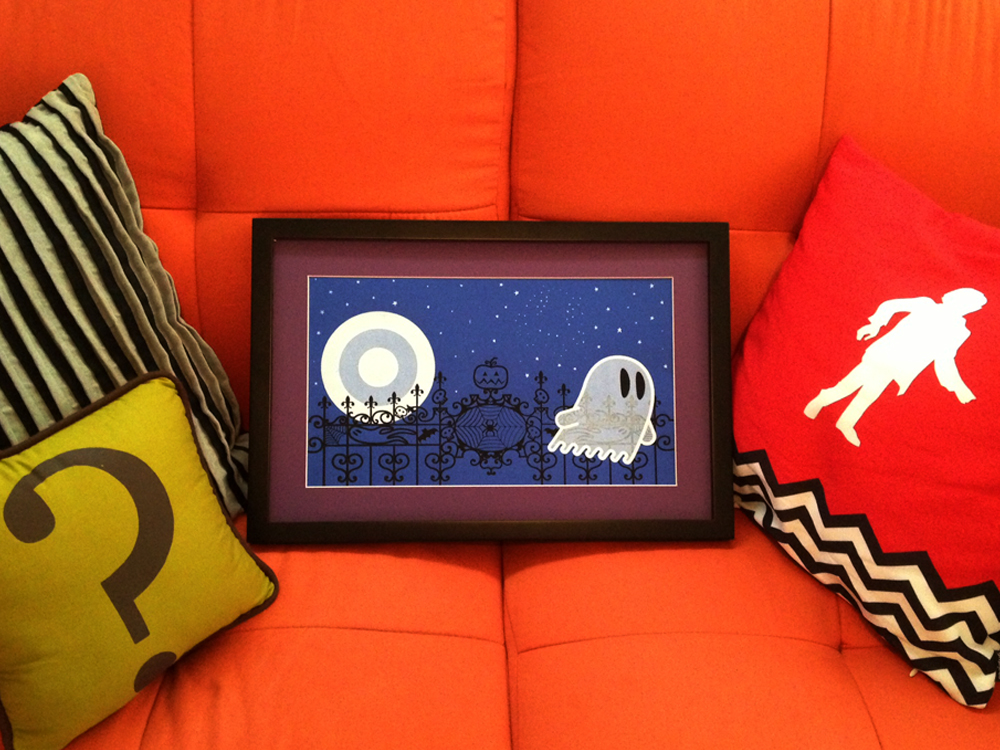
But needless to say, considering this is my first run at giving screen printing a try, coming up with one good print out of four isn’t too shabby!

Matted and Framed... !
Matted and Framed… !

Comments

comments

Leave a Reply

Your email address will not be published. Required fields are marked *